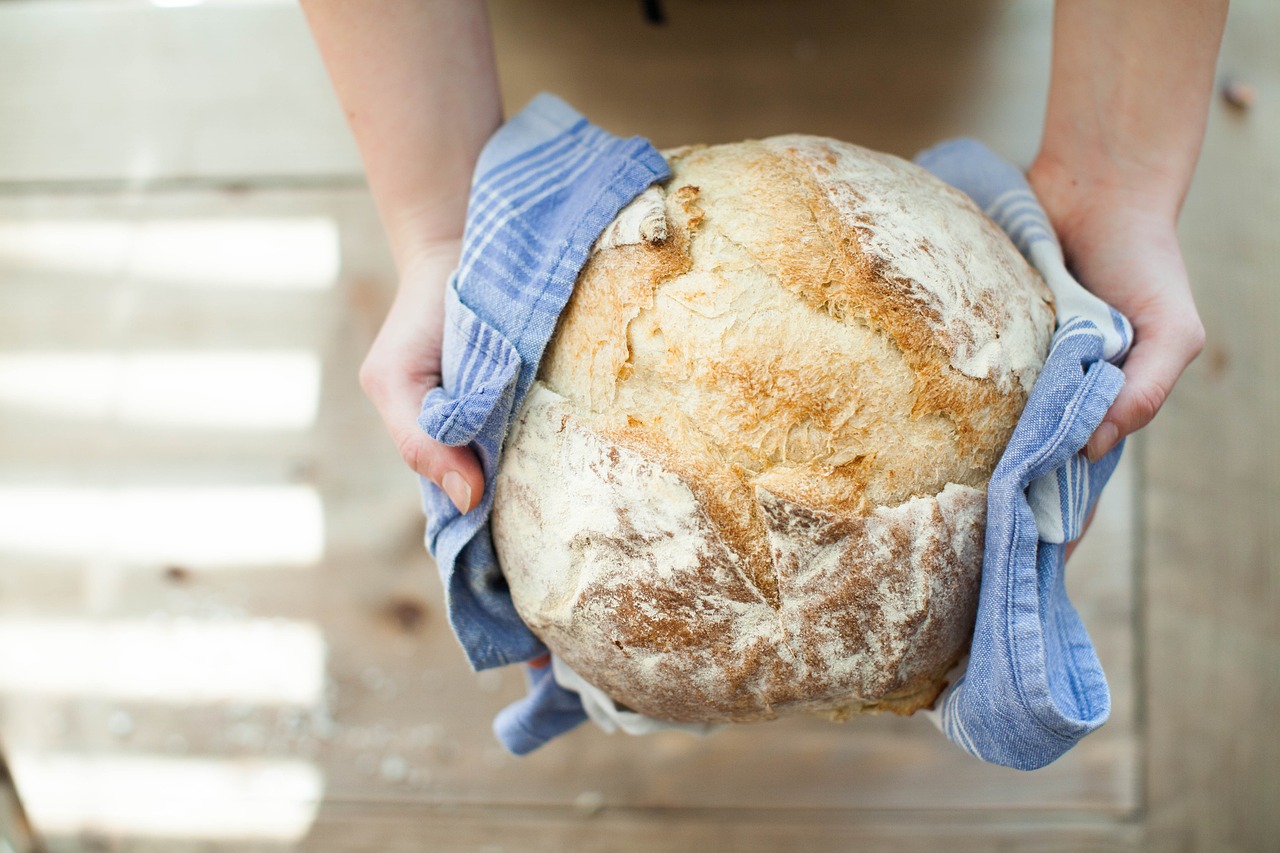
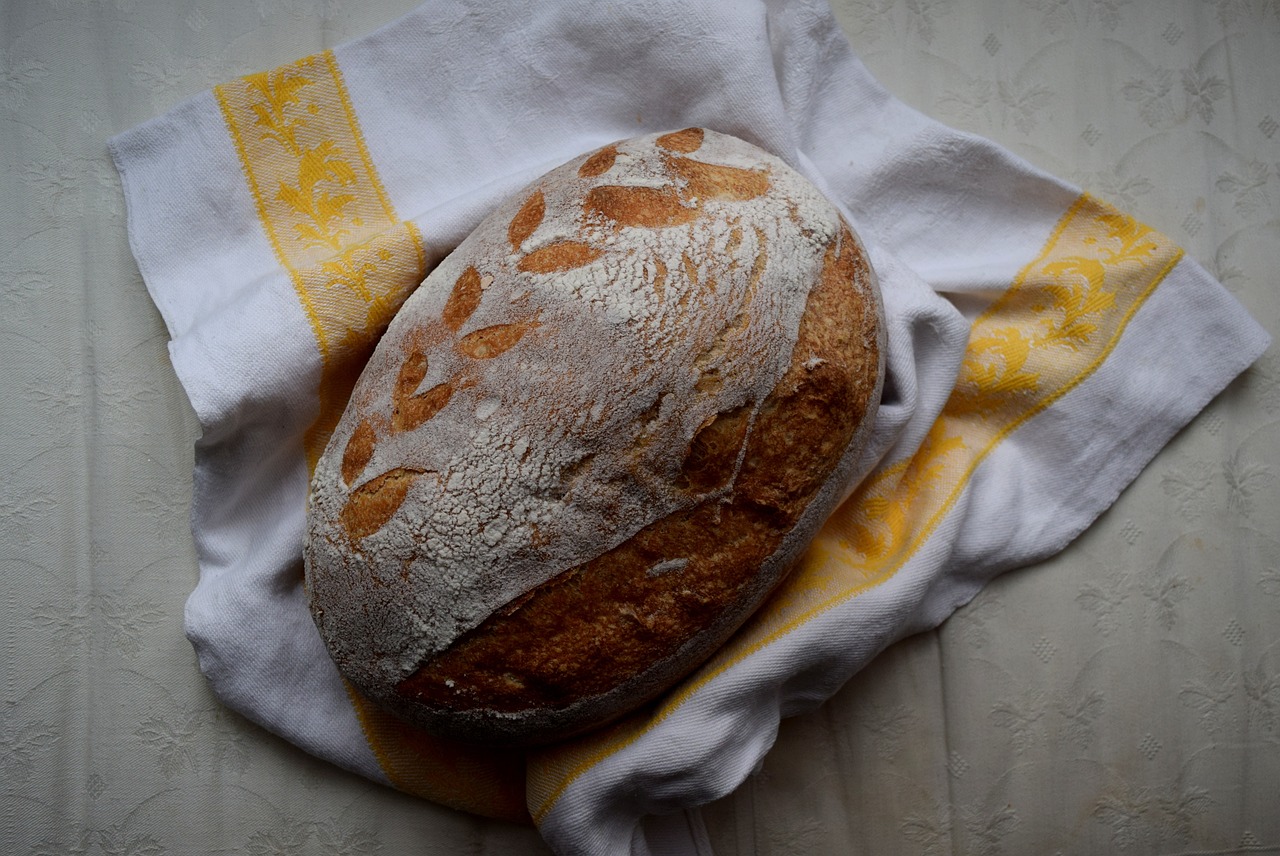
Are you ready to dive into the world of sourdough baking but don’t have a starter? No worries, I’ve got you! Making your own starter is easier than you might think. It’s a fun and rewarding process that even your kids can get involved in. Plus, it’s a great way to sneak in a little science lesson too! Let’s jump right in.
Day 1: The Beginning of a Beautiful Friendship
To kick things off, grab a clean glass jar (avoid metal) and mix 1 cup of whole wheat flour with 1 cup of water. Stir until smooth, cover loosely (a coffee filter and rubber band work great), and let it sit at room temperature. 🌾
Side note: If your little ones ask if they can taste it, a polite “not yet, sweetie” should suffice. It’s not quite pancake batter!
Day 2-7: The Daily Ritual
Every 12h, discard half of the starter and add 1 cup of all-purpose flour and 1 cup of water. Stir it up, cover, and let it sit. You’ll start to see bubbles and notice a tangy aroma by day 3-4. This is good! It means the natural yeasts are doing their thing. 🍞
It’s like feeding a pet that doesn’t bark, meow, or make a mess (unless you count the occasional flour spill).
Subsequent Days: The Grand Finale
Continue the feeding process once a day, discarding half of the starter and feeding it with equal parts flour and water, until your starter is reliably doubling in size within 6-8 hours after feeding. This can take anywhere from 7 to 14 days, depending on various factors such as temperature and the natural yeast in your environment..🥖
Maintenance
Once your starter is active and bubbly, you can switch to a maintenance routine of feeding it once a day or refrigerating it and feeding it once a week. To feed, simply discard half of the starter and then feed it with equal parts flour and water.
Treat your starter like a plant – it needs regular attention, but it’s pretty low-maintenance. Just don’t forget about it in the back of the fridge!
Troubleshooting Your Sourdough Starter
Just like any project, making a sourdough starter can come with its own set of challenges. So I’ve decided to gear you up for it all! Here are 3 of the most common problems and solutions:
- No Bubbles:
- Problem: Your starter isn’t bubbly after a few days.
- Solution: Try moving it to a warmer spot. Starters like it cozy, around 21-23°C (70-75°F) If your kitchen is cool, wrap the jar in a towel or place it near a warm appliance.
- You can also switch to a 12h routine feed to help speed things up.
- Foul Smell:
- Problem: Your starter smells more like gym socks than tangy bread.
- Solution: This can happen if bad bacteria take over. Discard most of the starter, keeping just a tablespoon, and start feeding it again with fresh flour and water.
- Pink or Orange Streaks:
- Problem: You see pink or orange streaks in your starter.
- Solution: Unfortunately, this means your starter is contaminated and needs to be thrown out. Clean your jar thoroughly and start over.
What’s Normal and What’s Not
- Normal: Bubbles, a tangy smell, and a slight rise and fall.
- Not Normal: Foul odors, pink or orange streaks, and mold.
Keeping Your Starter Happy
- Room Temperature: Feed it daily with equal parts flour and water.
- Fridge Storage: Feed it weekly, discarding half and adding fresh flour and water.
Final Thoughts
Creating your own sourdough starter is like welcoming a new member into your family. It takes a bit of time and patience, but the rewards are so worth it! Plus, there’s something magical about baking bread from scratch with your own homemade starter.
So, roll up those sleeves, get the kids involved, and let the sourdough adventure begin! Share your baking successes with us, -and funny fails, because we’ve all had them. Happy baking, Moms! 🥖🌾
PS: Remember, in baking and in life, a little patience and a lot of love goes a long way. Enjoy the journey and stay tuned as I’ll guide you through making your first bread.💕


Pingback: Simple Beginner-Friendly Sourdough Bread Recipe: Busy Mom Style